I had been after Butterick 8038 for some time, but it was rarely for sale and was always too expensive when it was, but I was finally lucky enough to win it on e-bay. According to vintage patterns wikia, it is a 1957 pattern, which looks about right.
I love the fact that the pattern has been used, but never pinned, so either weighted or just free hand cut. All of the markings had been made using blue chalk, and the bias facings, which are not included in the pattern, were cut from newspaper. My favourite story was the extract from a letter to the paper asking who stole 2 geranium plants and hoping that they feel bad!
My pattern was for a 36 inch bust. In modern/re issued vintage patterns, this would probably fit alright, but having just had a bit of a disaster with a 36 inch bust 50’s pattern not being even vaguely big enough, I thought I would try my hand at grading the pattern up. I have amended/ adjusted/ tweaked patterns before, but never done a full size change. This pattern is worth the trouble so I looked up various methods.
I looked at several different methods to enlarge the pattern, some of which made much less sense to me than others, and finally settled on this one for its clear instructions and logical approach. It took time, but all good things do. I do not intend to reproduce the approach here (especially as I was so messy!) but the tutorial I used can be found at A Stitching Odyssey.
I traced the pattern onto tissue paper and then set about adjusting it. If I do this again, I would use a thicker paper for the initial trace as it was fiddly when cut and curled when I was trying to line up the pieces etc. It looks really messy, but I got there in the end. It was also possibly not the best pattern to try this on given the crossover of the bodice, but with a consistent approach and a bit of care it seems to have works. The size increase was not big enough to accommodate an extra pleat so I reduced each pleat by 3mm and this worked well.
I would have loved the long sleeved version but my fabric was just too tight. The fabric was a sari with borders one each side. I had bought it from a charity shop for £4 and I really had set my heart on doing this dress in this fabric.
There was some rule breaking in the cutting. The skirt was always to be cut cross grain as I wanted the border to run around the bottom. The fabric was too narrow to cut the skirt back on the grain anyway. Given the sheen, this risky, but all great endeavors are!
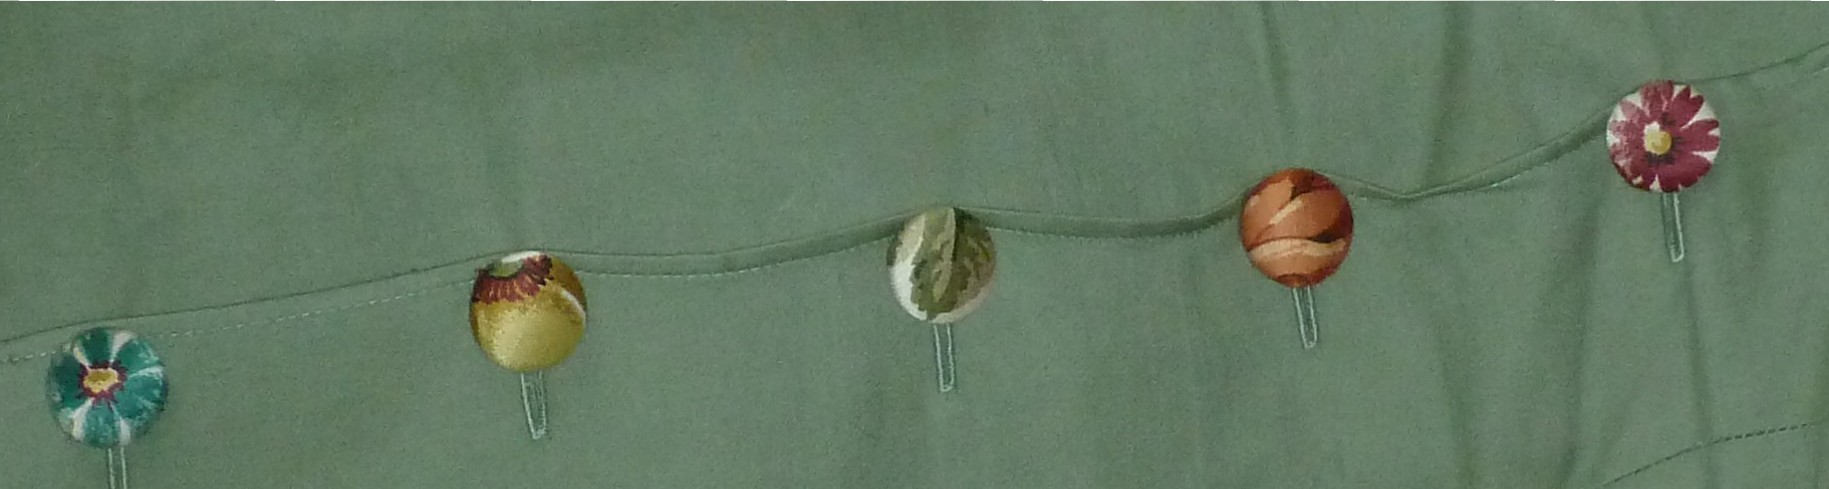
I have never really used tailors tacks much, preferring to just place a pin in the fabric to mark a point unless the pattern was very detailed. In more recent times, I have started to use tacks more often, but with this dress used it to mark all points. This was particularly useful when working on the pleats. I did the ‘from’ pleat lines in one colour and the ‘to’ in an other which helped make the construction easier.
The dress went together very nicely – the instructions were clear. The construction appeared complicated when I read it beforehand, but was all quite logical when you were actually doing it.
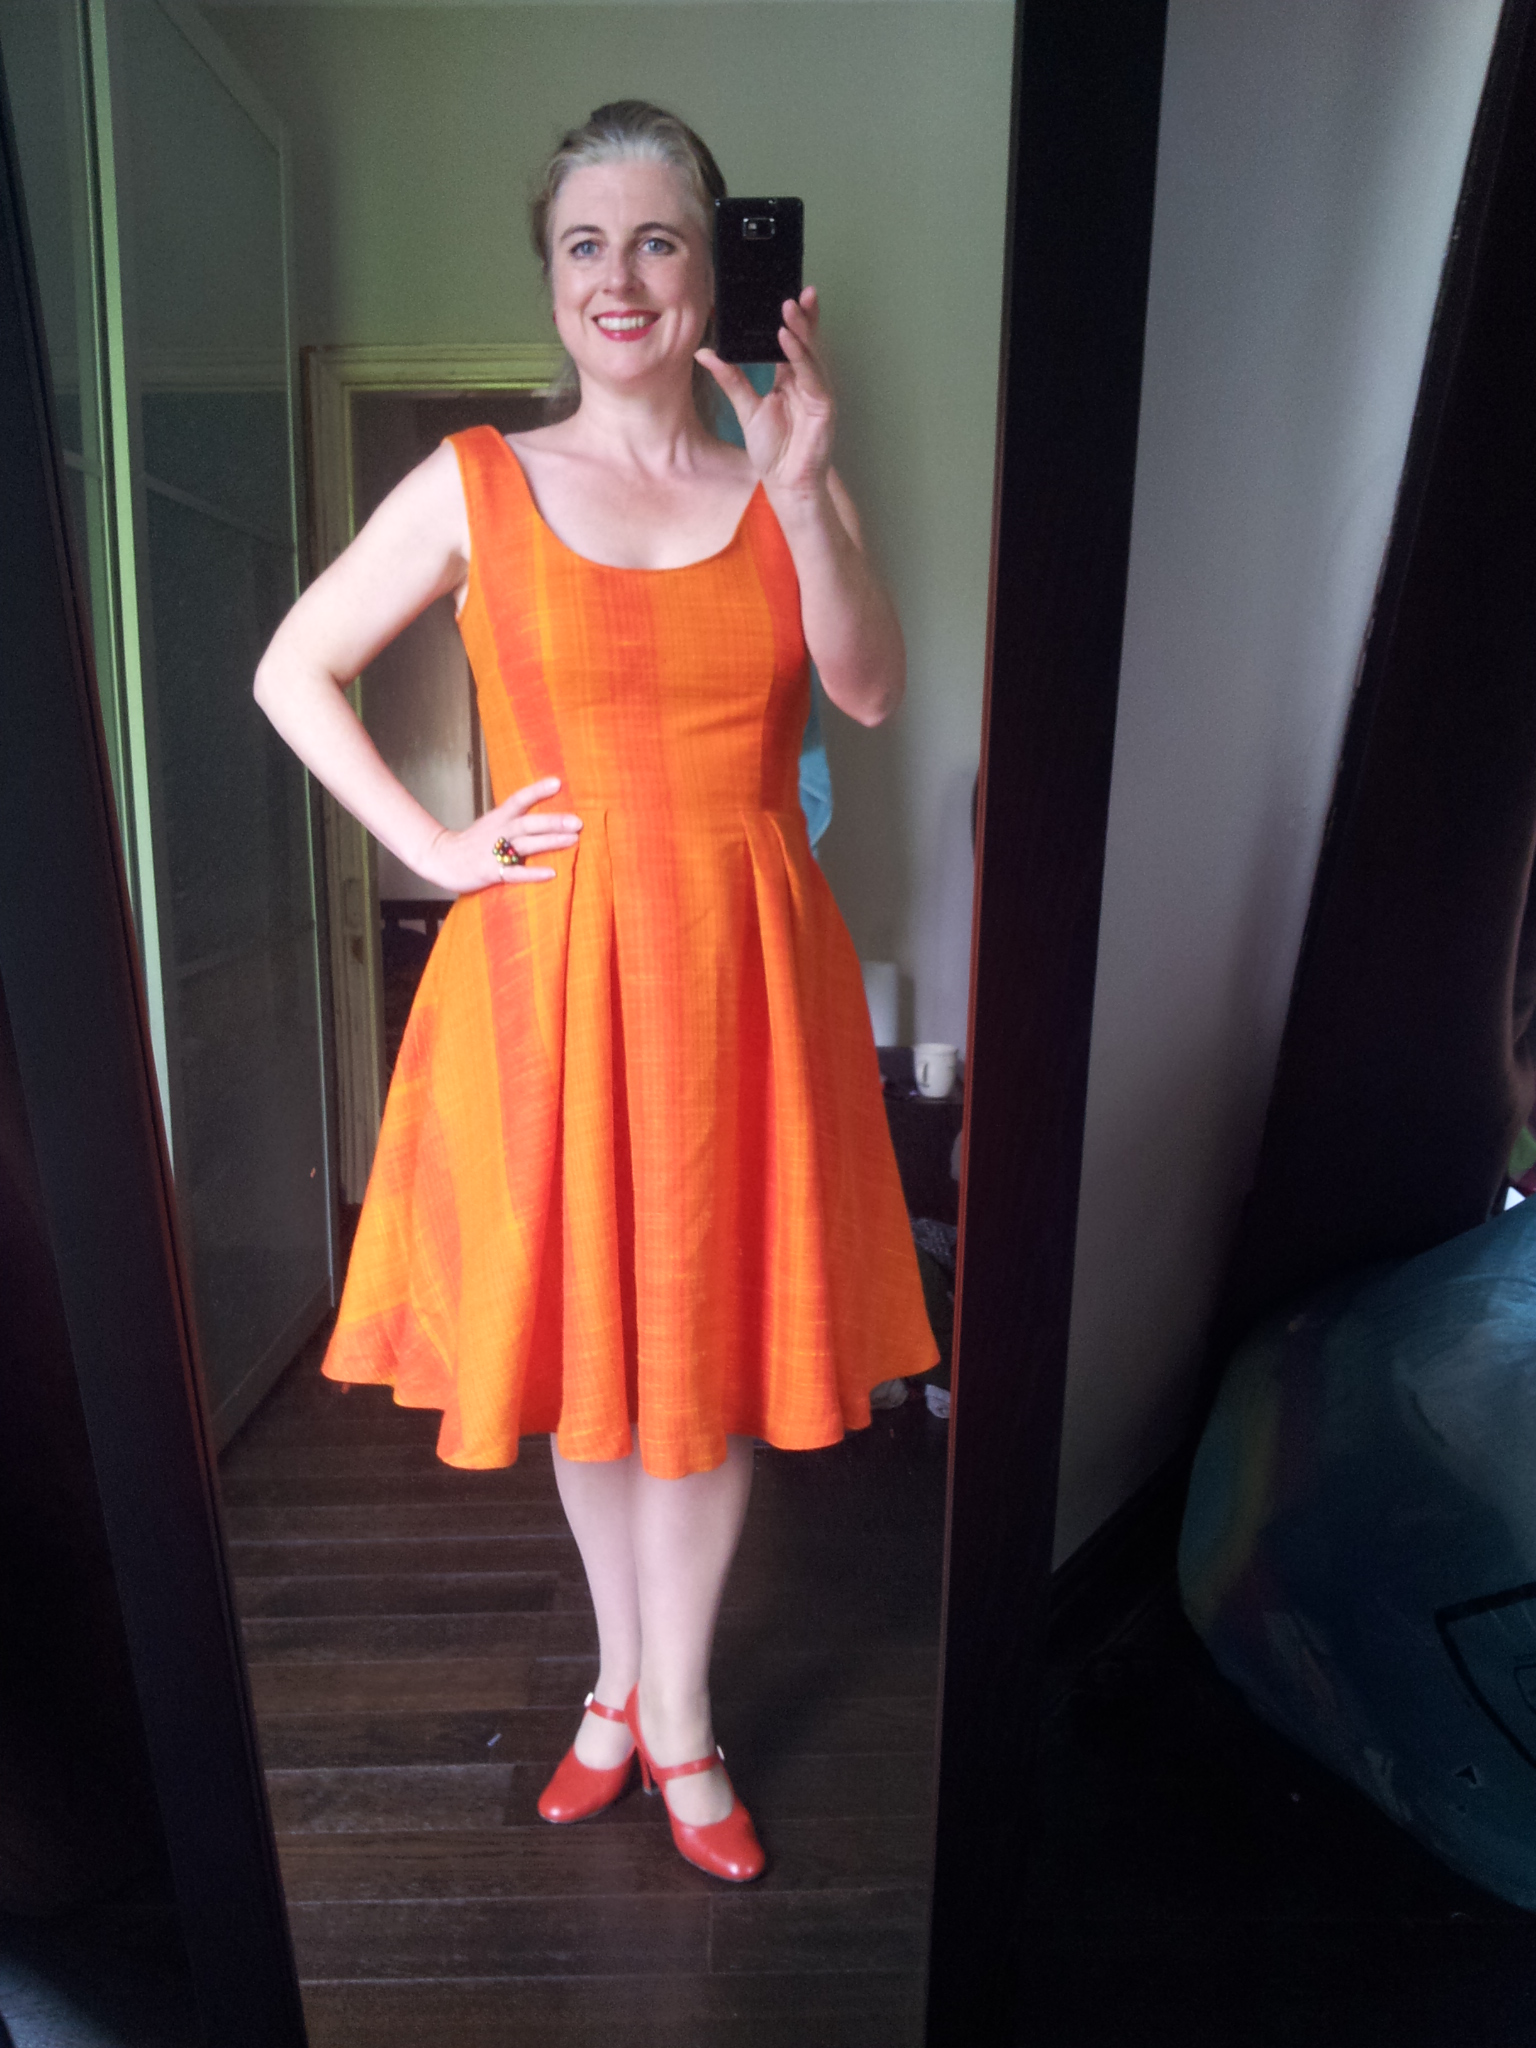
 I love the skirt on this. I am not a slender lady, but find that full skirted dresses are quite flattering. I love the look of the pleats, the volume they give without adding bulk to the waist you can get with a gathered skirt.

I am absolutely delighted with the fit of the dress. I may move the starting points of the crossover sections down about 1/2 inch next time and try using bias binding around the neck and armholes when I make my next version as 2 inch bias facings were hard to double turn when going round the curve of the neckline. I would really like to do the long sleeved version, possibly with the straight skirt for autumn/winter but also another sleeveless one in a more everyday fabric. Just love it – I honestly believe it is the best thing I have ever sewn!